Radiant Barrier Installation Services Overview
Visitors will learn about Radiant Barrier Installation services and how local contractors can help improve energy efficiency.
- - Residential homeowners seeking to improve attic insulation and energy efficiency through radiant barrier installation.
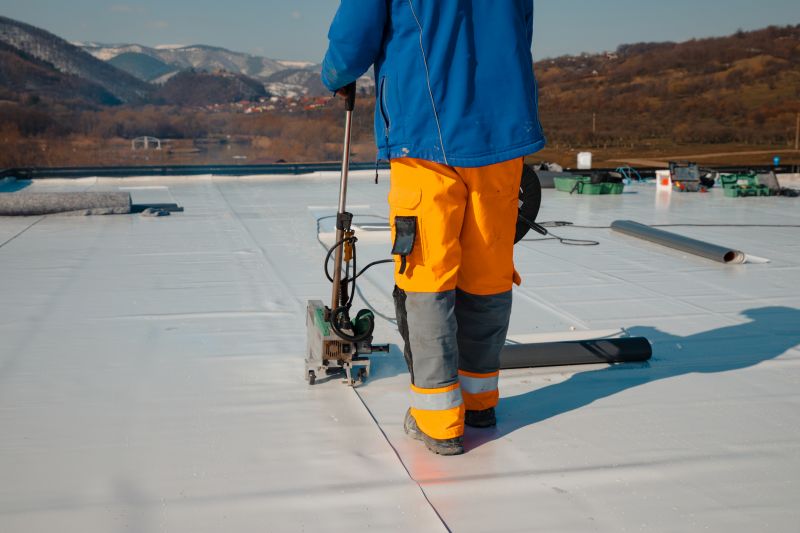
- - Commercial property managers looking to reduce cooling costs and enhance building comfort with professional radiant barrier services.
- - Contractors and builders in need of reliable local specialists to incorporate radiant barriers into new or existing construction projects.
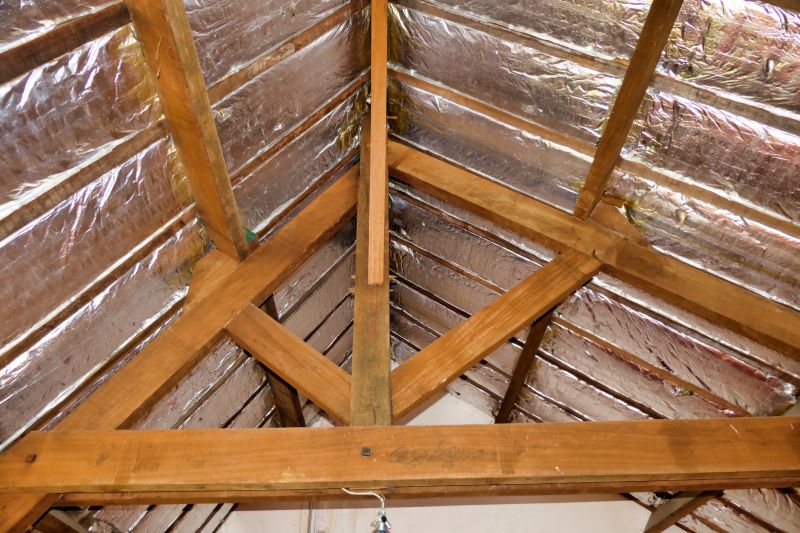
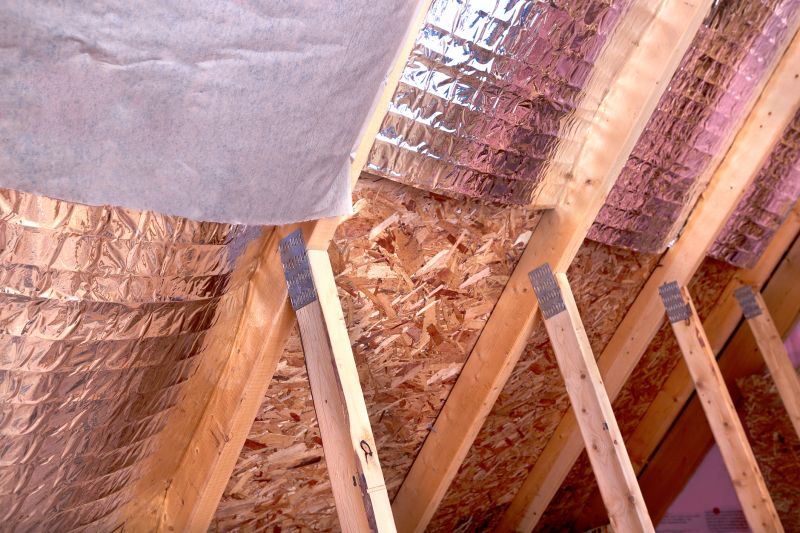
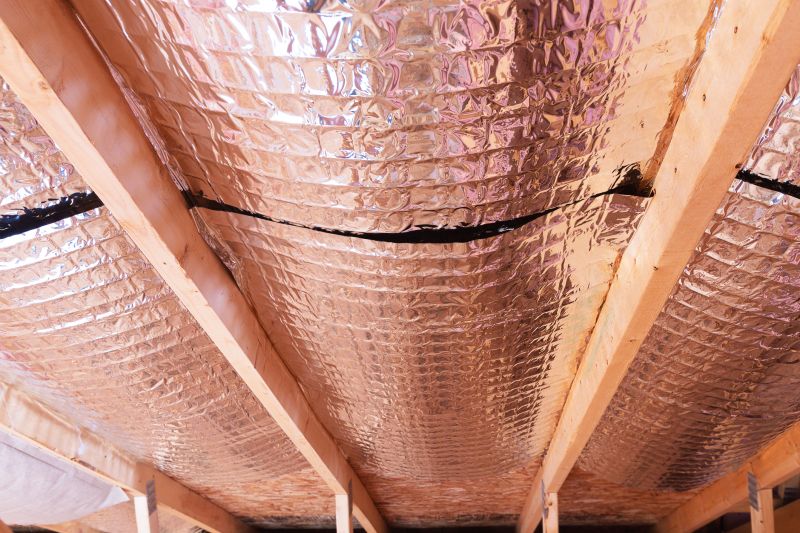
Radiant barrier installation is a specialized service that helps improve the energy efficiency of a property by reducing heat transfer through the attic or roof space. Homeowners and property owners often seek out local contractors for this work to help manage indoor temperatures more effectively and potentially lower cooling costs. These local service providers typically evaluate the existing insulation and roofing conditions before installing reflective barriers that can reflect radiant heat away from the living spaces, making them a practical solution for those looking to optimize comfort and energy use.
The process involves careful placement of reflective materials in areas such as attics or roof cavities, often requiring experience with building structures and insulation systems. Local contractors who offer radiant barrier installation services are equipped to handle a variety of property types, ensuring the barrier is installed correctly and efficiently. Connecting with experienced local pros can help property owners find the right solutions tailored to their specific needs, providing a straightforward way to enhance their property's thermal performance through professional installation.
This guide provides helpful information to understand radiant barrier installation and its benefits. It assists in comparing local contractors and service providers, making it easier to find the right professionals for your project. By reviewing the basics here, you can better prepare to discuss your needs with local experts.